School-aged kids will learn about paper collage through this fun spring-themed project. Our basic techniques can easily be used at home or in the classroom.
Recycling through Paper Collage
Creating paper collage is a wonderful opportunity for kids to learn about recycling in a fun and unique way. Kids will see that they can create art by tearing up brightly colored paper and rearranging the scraps into new shapes and designs. In today’s project, we will be recycling pages from an old book, dictionary, and catalog.
Related: Recycle Dictionary Pages by drawing art directly onto the page.
Supplies Needed to Make This Spring Flowers Paper Collage Art Project
- Scrap Paper
- Cardstock – or other heavy body paper
- Glue
- Pencil
- Permanent Marker
- Scissors
If Not Using Colored Paper Scraps:
- Acrylic Paint
- Paintbrushes
- Water
- Paper Towels
- Paint Palette
Directions to Make A Spring Flowers Paper Collage
Step 1
Skip this step if using colored paper scraps.
First, paint scrap paper with acrylic paint to create colored paper for your collage. Create multiple pages of various colors. Set aside to dry.
Step 2
Roughly sketch a spring flower design onto cardstock.
Step 3
Then, tear dry collage paper into smaller pieces of various shapes and sizes.
Step 4
Begin collage by gluing paper scraps onto the background portion of your design. We want to work from the back layers of the design to the front layer.
Step 5
Next, add a second layer of collage paper to your design.
Step 6
Then, continue to add layers to your collage until it is complete.
Step 7
When glue is dry, outline and define spring flower design with permanent marker.
Step 8
Lastly, use scissors to cut off excess collage scraps to tidy the edges.
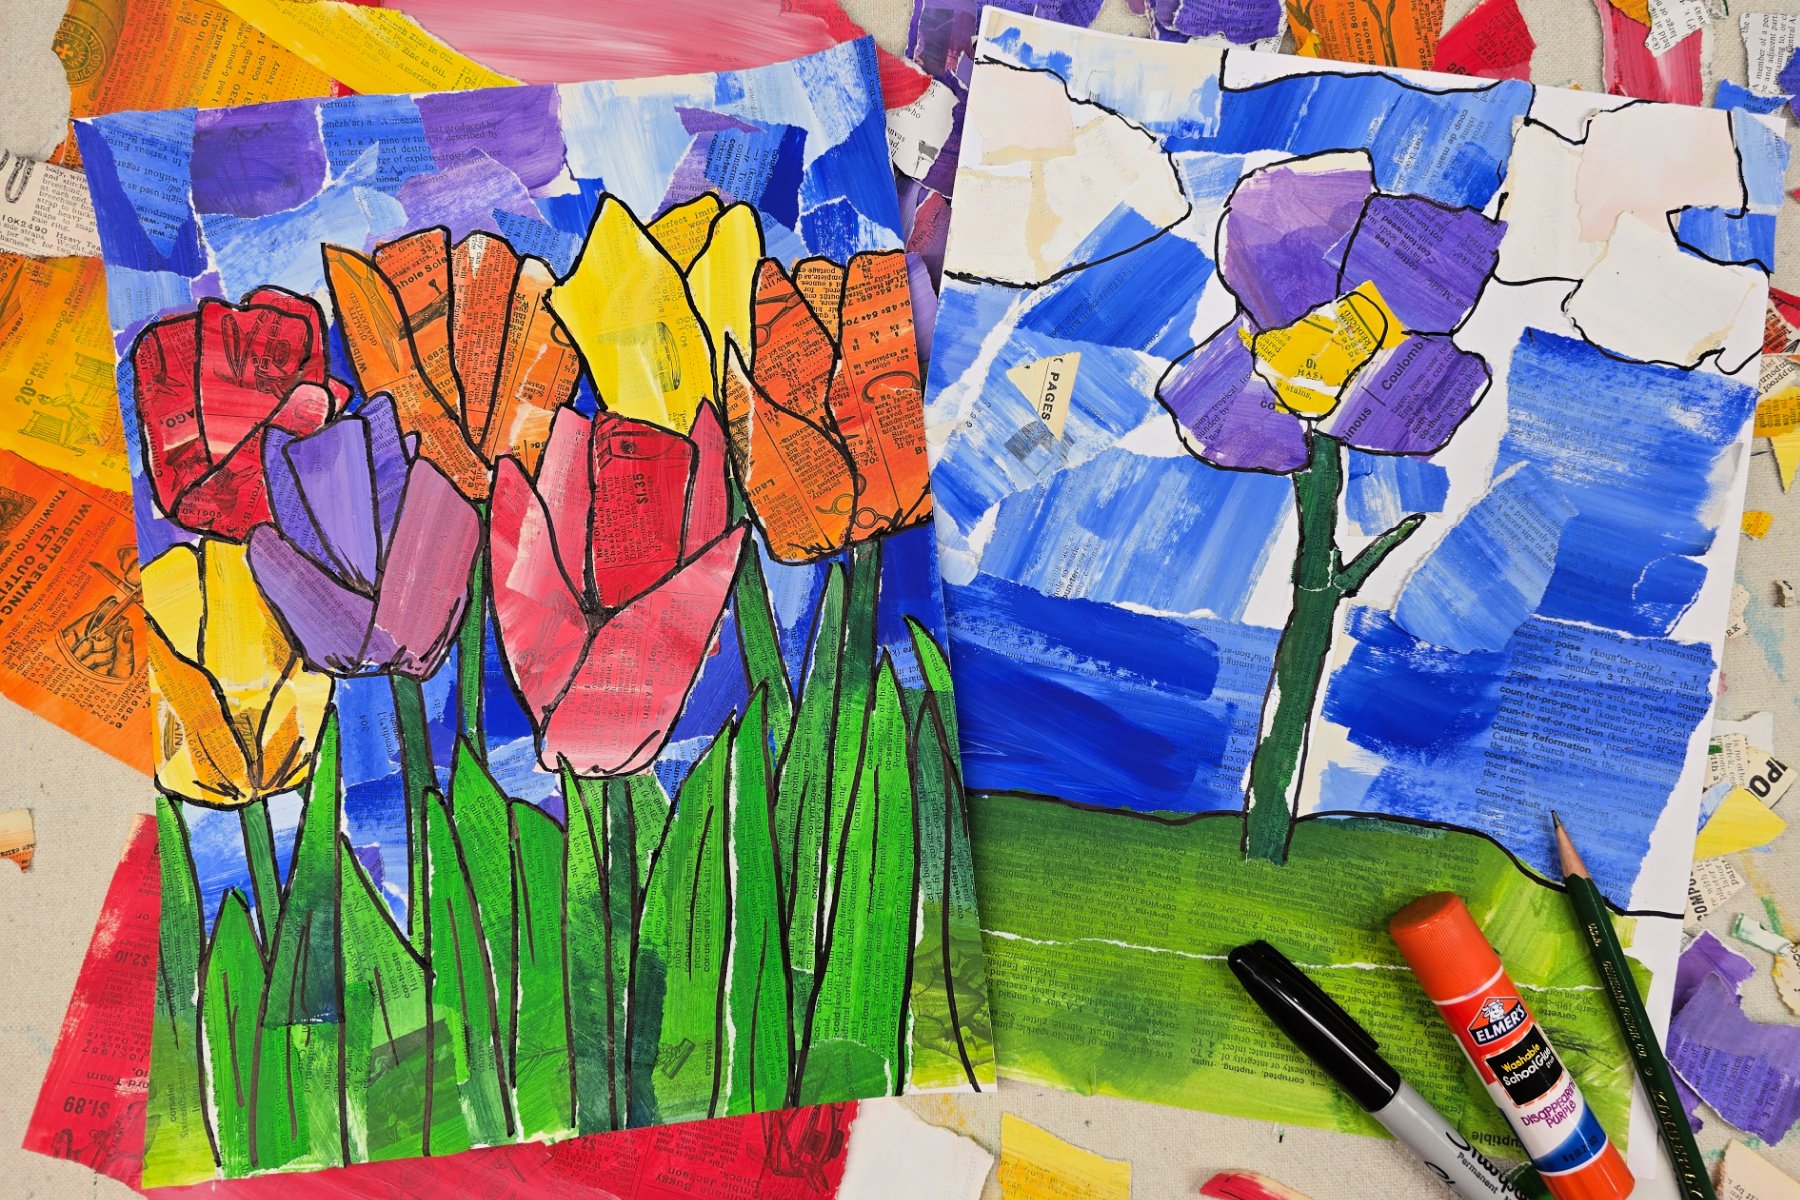
Finished Spring Flowers Paper Collage Art Project
I love the bright colors used in these spring collages! Since these projects are made on paper, they are easily framed, clipped, or displayed in your preferred style with your seasonal decorations.
Our Experience Making this Spring Flowers Paper Collage Art Project
We had fun exploring the art of paper collage. It was a good opportunity to recycle old paper scraps into something new. By sketching the design first, we were better able to plan our placement of scrap paper. We were also able to use less scraps since we weren’t wasting pieces that would eventually be hidden by other layers. Lastly I love how the permanent marker outline tidied up our design and really made the flowers pop.
Prep Time
5 minutes
Active Time
30 minutes
Total Time
35 minutes
Difficulty
Medium
Estimated Cost
$1
Materials
- Scrap Paper
- Cardstock – or other heavy body paper
Tools
- Glue
- Pencil
- Permanent Marker
- Scissors
- If Not Using Colored Paper Scraps:
- Acrylic Paint
- Paintbrushes
- Water
- Paper Towels
- Paint Palette
Instructions
- Skip this step if using colored paper scraps. Paint scrap paper with acrylic paint to create colored paper for your collage. Create multiple pages of various colors. Set aside to dry.
- Roughly sketch a spring flower design onto cardstock.
- Tear dry collage paper into smaller pieces of various shapes and sizes.
- Begin collage by gluing paper scraps onto the background portion of your design, working from the back layers of the design to the front layer.
- Add a second layer of collage paper to your design.
- Continue to add layers to your collage until it is complete.
- When glue is dry, outline and define spring flower design with permanent marker.
- Use scissors to cut off excess collage scraps to tidy the edges.
Notes
Paper Collage Art Variations
- Use colored paper to save time on this project.
- Skip outlining or trimming paper edges to keep a more rugged design.
- Adjust colors and themes to fit any season or holiday.
Paper Collage Art Variations
- Use colored paper to save time on this project.
- Skip outlining or trimming paper edges to keep a more rugged design.
- Adjust colors and themes to fit any season or holiday.
Other Fun Recycling Art Projects from Kids Activities Blog
Did your kids enjoy creating a spring flower paper collage? What kind of papers did they recycle for this project?