Looking for a unique and heartwarming gift that kids can make for Fatherâs Day? This spinning coffee cup craft is the perfect DIY surprise that dads will absolutely love. It’s easy to make, super customizable, and uses our free printable templates so kids can create something meaningful and fun. Get ready to turn a few party cups into a gift that shows dad just how much heâs lovedâone spin at a time!
Make & Give a Coffee Cup for Dad
Today we have a fun kids printable craft that works great as a homemade gift for dad. This project is perfect for:
- Kids ages 4+ (younger ones will need some help)
- Classrooms or Sunday school crafts
- A last-minute but meaningful gift that wonât break the bank
? Supplies Youâll Need
- Free printable templates (grab them below!)
- Colored pencils, crayons, or markers
- Scissors
- Glue stick
- Six 16 oz party cups (the plastic kind)
- Craft knife (for adult use only!)
? How to Make the Fatherâs Day Coffee Cup Craft
1. Print the Templates
Start by printing out all five pages of our free printable cup sleeves and handles. Youâll need them all to complete your spinning masterpiece!
? Download the Printable Templates Below and Let the Crafting Begin:
2. Cut Out the Pieces
Carefully cut out the cup sleeves and handles from the printables. Each sleeve will wrap around one cup, and each handle gets glued on later. (Pro tip: Cups vary slightly in size, so hold up the sleeve to your cup and trim it if needed.)
3. Color, Decorate & Write Sweet Messages
Time for the fun part! Decorate the outside of the sleeves and handles however you likeâuse crayons, markers, colored pencils, stickersâwhatever makes you smile.
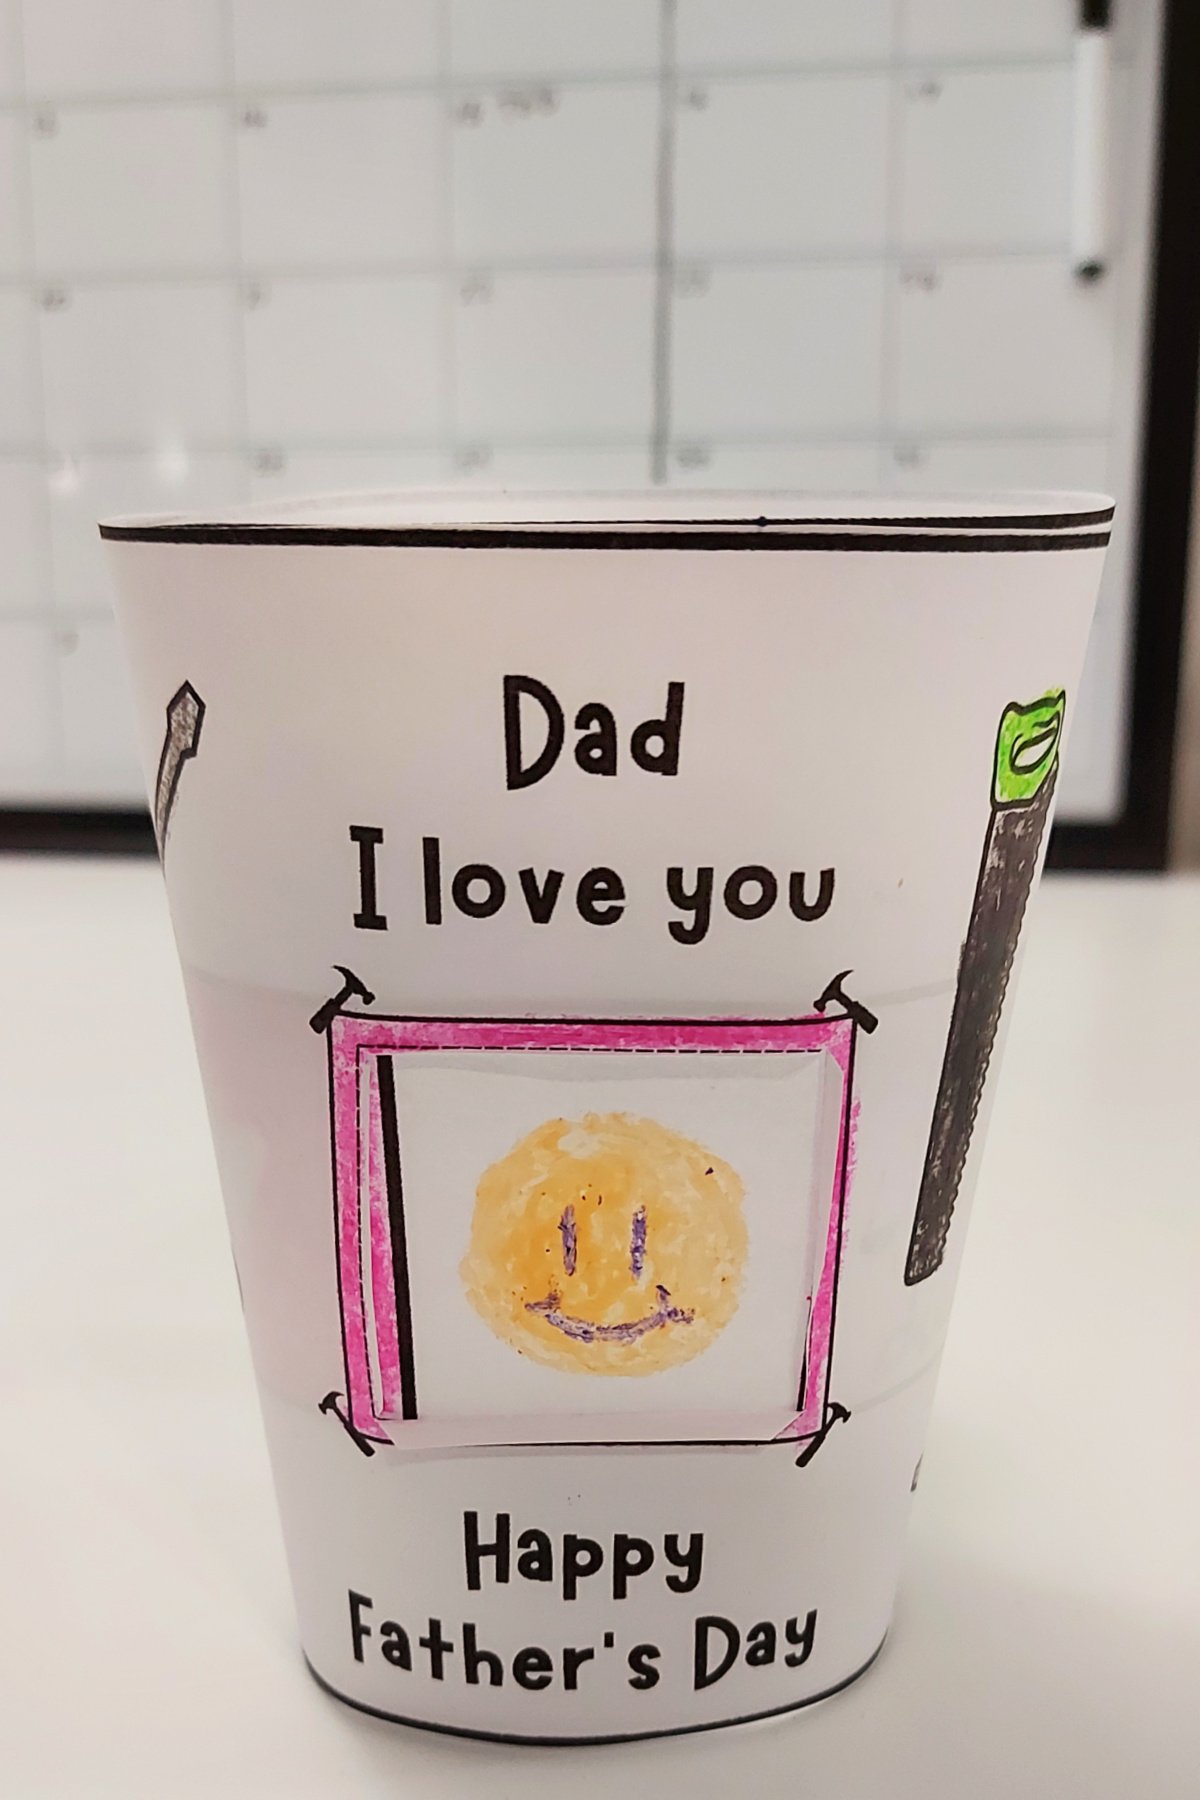
? Inside each cup sleeve are little square spaces where kids can write messages or draw pictures just for Dad. Think:
- âYouâre the best pancake maker!â
- âI love our camping trips.â
- âYou’re my hero!â
Let your imagination go wild!
4. Make the âInside Cupâ
Choose one cup to be your âInside Cup.â Glue the inner template design around the outside of this cup. This is where all the special messages will peek through!
5. Assemble the Handle
Take two matching handle pieces, glue them back-to-back, and fold the tabs outward. Then, glue tab âAâ to the inside of side âAâ on the outer sleeve. (Weâre almost there!)
6. Create the âOuter Cupsâ
Now take one of your remaining cups and glue the sleeve around it, starting with end âA.â As you wrap the sleeve around the cup, glue as you go. When you reach the end, fold and glue handle tab âBâ to the cup, then overlap and glue end âBâ up against end âAâ to cover the tab.
7. Cut Out the Viewing Square (Adult Help Required!)
This part is a job for grown-ups! Use a craft knife to carefully cut out the square window on the outer cup. This is how Dad will be able to see all the sweet messages inside.
8. Put It All Together
Now, gently place the âInside Cupâ into the âOuter Cup.â Give it a little spin⦠and magic!
? Ta-Da! A DIY Gift Dad Will Treasure
When Dad spins the outer cup, new messages or drawings appear in the cut-out window. Itâs like a personalized love note with every turn!
Happy Fatherâs Day to all the awesome dads out there from everyone at Kids Activities Blog!