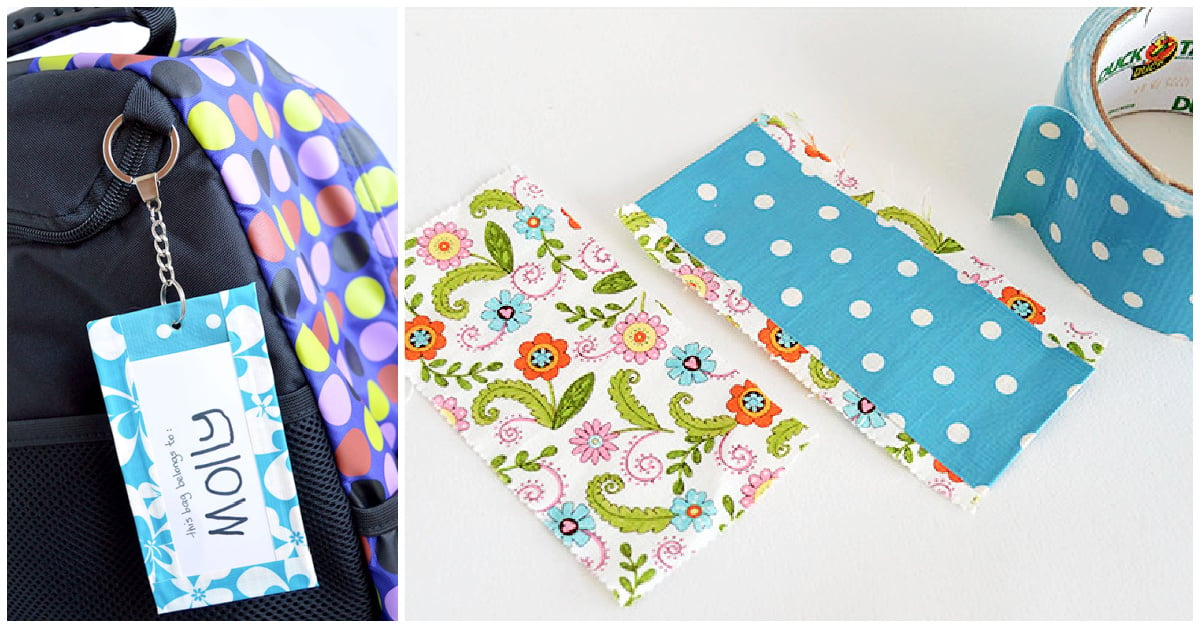
Make your own DIY backpack tag! This is such a fun back to school craft! Kids of all ages will love making their own DIY backpack tag. This backpack tag will help them keep up with their backpack, gym bag, even lunch box! This DIY backpack tag is great for preschoolers, elementary, middle, and even high school aged kids. And the best part is, this DIY backpack tag is also a great budget-friendly back to school craft.
Let’s make backpack tags! This simple backpack name tag craft is a cute and useful homemade name tags idea that takes just 5 minutes to make. It is a great quick back to school craft for kids of all ages.
If your house is anything like mine there are repeated calls for a new school bag during the year because another child has the same bag as her, and they keep accidentally picking up the wrong bag at home time. Instead of heeding the calls I of course improvised with a quick Back To School Backpack Tag, no chance of any bag-napping with this tag in clear sight!
This article contains affiliate links.
Related: We have so many great sticker ideas and crafts.
Supplies Needed to Make a Personalized Backpack Label
Step 1
Start by cutting a strip of scrap fabric to the size of the tag you want.
Step 2
Cover on both sides with duck tape.
Step 3
Cut a rectangular piece of acetate for the name card window and seal this on the sides and base of the tag with duck tape.
Leave the top edge of the acetate open for the name card to slide in.
Step 4
Punch a hole on the top of the tag!
Step 5
Attach the key ring…. and invite your child to write their own name on a piece of card to slide in.
Finished Backpack Tag Craft
And that’s it – just loop the backpack tag onto the school bag and they are ready!
Why do you need a DIY back to school backpack tag? It will help your kids not lose their things! A lot of kids have the same bag. So mistakes happen. Having a DIY backpack tag is a great way to keep any mistakes from happening. You can even use this DIY backpack tag for other things like gym bags and lunch boxes as well.
Active Time
5 minutes
Total Time
5 minutes
Difficulty
easy
Estimated Cost
$5
Materials
- scraps of fabric
- duct tape
- acetate
- key ring
Instructions
- Cut a strip of fabric the size of the tag you want.
- Cover both sides with patterned duct tape.
- Cut a rectangular piece of acetate for the name card window and seal this on the sides and base with duct tape leaving an edge to slide in the name card.
- Punch a hole in the top of the tag and add a keyring.
- Have child write name on card and slide into bag tag.
More Back to School Fun from Kids Activities Blog
How did your backpack tag craft turn out? What colors and patterns did you use?

