Easy Tutorial to Fold A Dollar Bill Origami Rocket

Easy Tutorial to Fold A Dollar Bill Origami Rocket


If you’re looking for a fun and creative way to use your spare dollar bills, this is the perfect craft for you! Today we are turning a regular dollar bill into an exciting dollar bill origami rocket.

What a cute craft!

How To Fold A Dollar Bill Origami Rocket In 10 Steps

Here at Kids Activities Blog, we love fun origami crafts! From simple origami for young kids to more difficult origami projects, we have it all. Today we have a really easy one that even the youngest kids can do with very little help from an adult! Just follow our step-by-step guide – we recommend printing it so you can have a visual guide with you at all times.

Let’s get started!

Instructions

Step 1:

Start with a crisp dollar bill! Then, fold the bill in half crosswise and lengthwise, then unfold it to create a crease.

Dollar bill origami rocket - step 1 - a crispy dollar bill is on top of a red background. Tutorial from kids activities blog
Go grab your crisp dollar bill!
Dollar Bill Origami Rocket - Step 1. The bill is folded lengthwise. Tutorial from Kids Activities Blog.
First step is folding lengthwise.
Dollar Bill Origami Rocket - Step 1. The bill is then unfolded. Tutorial from Kids Activities Blog.
Now unfold!
Dollar Bill Origami Rocket - Step 1. The bill is folded  crosswise. Tutorial from Kids Activities Blog.
One more fold…
Dollar Bill Origami Rocket - Step 1. The bill is then unfolded. Tutorial from Kids Activities Blog.
And unfold again!

Step 2:

Fold both top corners down so that their top edges align with the vertical crease from the previous step.

Dollar Bill Origami Rocket - Step 2. The right edge of the bill is folded backward to the vertical center line. Tutorial from Kids Activities Blog.
Fold your dollar bill similar to a kite.

Step 3:

Fold both bottom excess edges backward and unfold them to make a crease.

Dollar Bill Origami Rocket - Step 3. The bottom edges are folded slightly forward and inward. Tutorial from Kids Activities Blog.
Fold the bottom edges as shown.
Dollar Bill Origami Rocket - Step 3. The folds are unfolded. Tutorial from Kids Activities Blog.
Let’s keep folding and unfolding!

Step 4:

Fold both edges inward along the crease you made in the previous step.
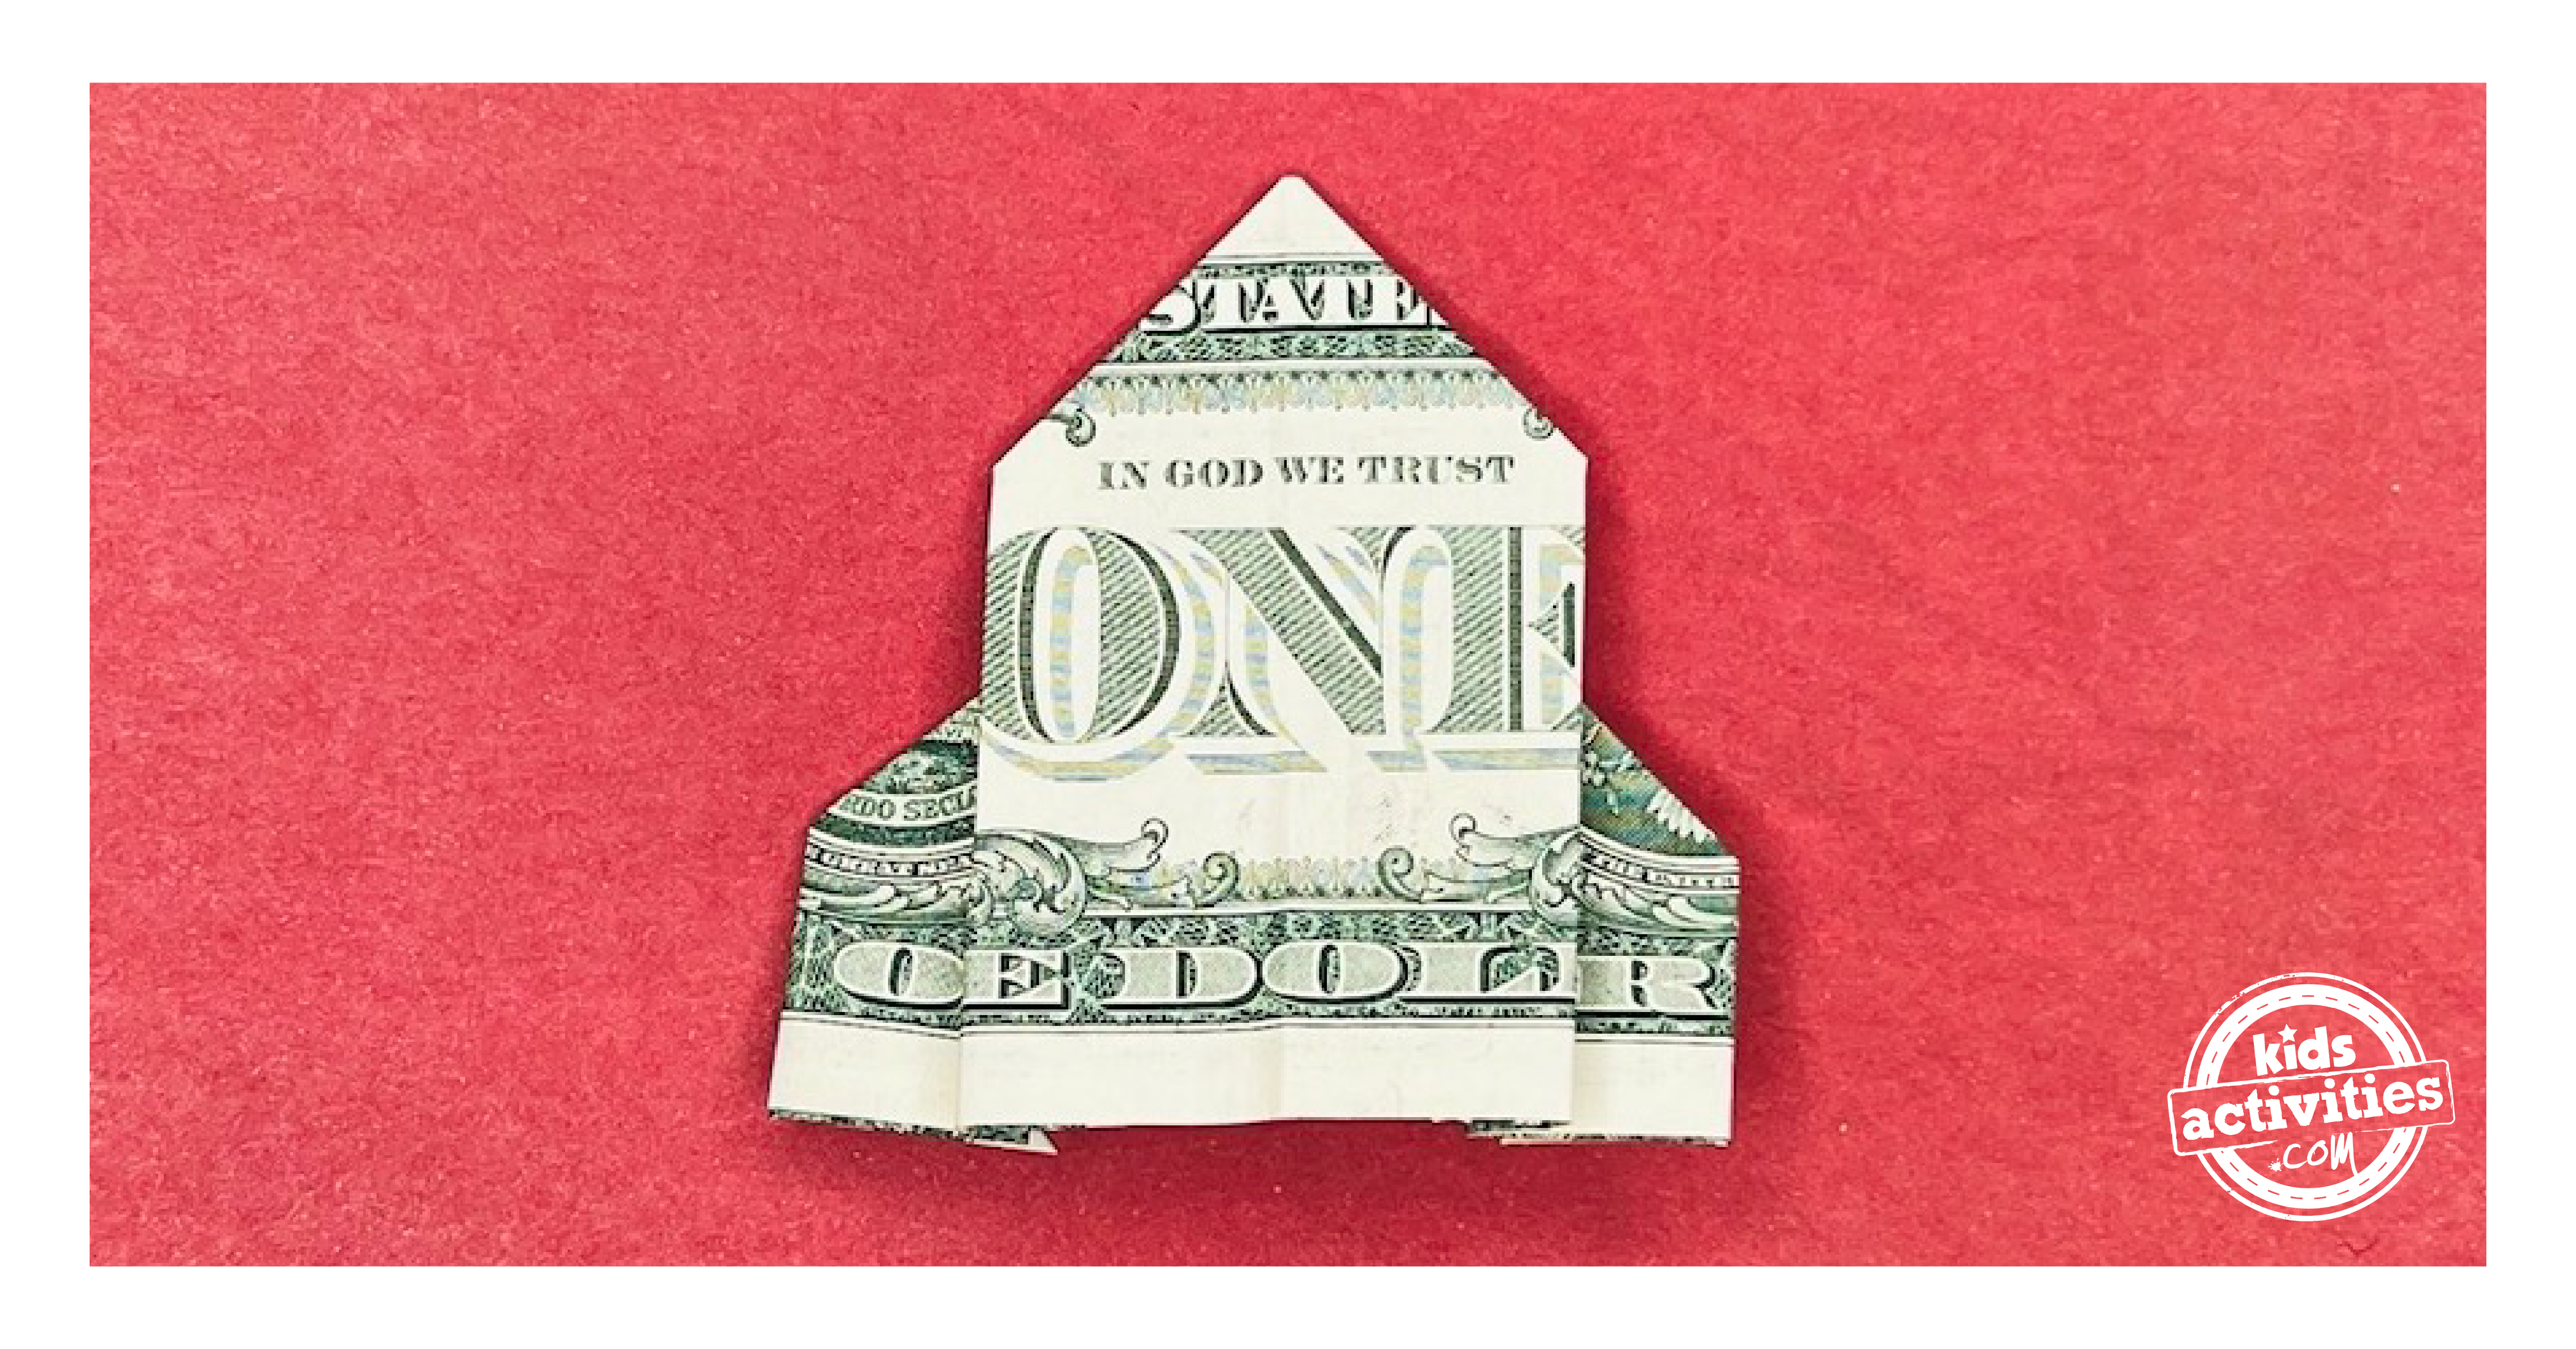
Dollar bill origami rocket - Step 4. The left and right edges are folded inward along the crease made in the previous step. Tutorial from Kids Activities Blog.
Isn’t this origami project so much fun?

Step 5:

Fold the bill along the diagonals again to form a triangle.

Dollar bill origami rocket - Step 5. The bill is folded along the diagonals again to form a triangle. Tutorial from Kids Activities Blog.
Making a triangle again.

Step 6:

Fold the right corner inward.

Dollar bill origami rocket - Step 6. The right corner is folded inward. Tutorial from Kids Activities Blog.
Fold a little over the middle line.

Step 7:

Fold it back outward, leaving a small gap between the two folds, in an accordion-fold style.

Dollar bill origami rocket - Step 7. The right corner is folded back outward, leaving a small gap between the folds, creating an accordion fold. Tutorial from Kids Activities Blog.
Fold outwards.

Step 8:

Fold the right corner again until its tip matches the fold from the previous step.

Dollar bill origami rocket - Step 8. The right corner is folded again until its tip matches the previous fold. Tutorial from Kids Activities Blog.
One last accordion fold.

Step 9:

Repeat steps 6 to 9 for the other side to match the right side.

Dollar bill origami rocket - Step 9. The left side is folded over the middle line. Tutorial from Kids Activities Blog.
Fold over the middle line.
Dollar bill origami rocket - Step 9. Left side is folded outwards. Tutorial from Kids Activities Blog.
Time for another accordion fold!
Dollar bill origami rocket - Step 9. The left side's tip is folded again. Tutorial from Kids Activities Blog.
We’re almost done…

Step 10:

Flip the figure over. Your dollar bill origami rocket is ready!

Dollar bill origami rocket - Step 10. The figure is flipped, and the completed origami rocket is shown. Tutorial from Kids Activities Blog.
Voi-la! Wasn’t that fun?!

Add some personal touches! You can draw small designs or use colored pens to give your rocket a unique look.

Note: Don’t worry if your first attempt isn’t perfect. Origami is an art that improves with practice. Try folding a few rockets to get the hang of it.

Active Time
10 minutes

Total Time
10 minutes

Difficulty
easy

Estimated Cost
$1

Notes

Add some personal touches! You can draw small designs or use colored pens to give your rocket a unique look.

Now that we’ve finished this fun dollar bill rocket origami, it’s time to try more crafts! Keep reading to find our most popular dollar bill origami projects.

MORE DOLLAR BILL ORIGAMI TUTORIALS FROM KIDS ACTIVITIES BLOG:

Did you have fun creating this dollar bill origami rocket?


Source link

Scroll to Top