School-aged kids will learn how to create their own sketchbook in this fun project. Weâve included a free printable to make this lesson easy for home or classroom use.
Why Make Your Own Sketchbook?
Artists may choose to create there own sketchbooks for many reasons, including: The freedom to create any size sketchbook, their choice of paper quality and binding, ability to combine multiple types of paper within one book, and so on!
Related: Explore our fun Printable Patterns to Draw in Your Sketchbook!
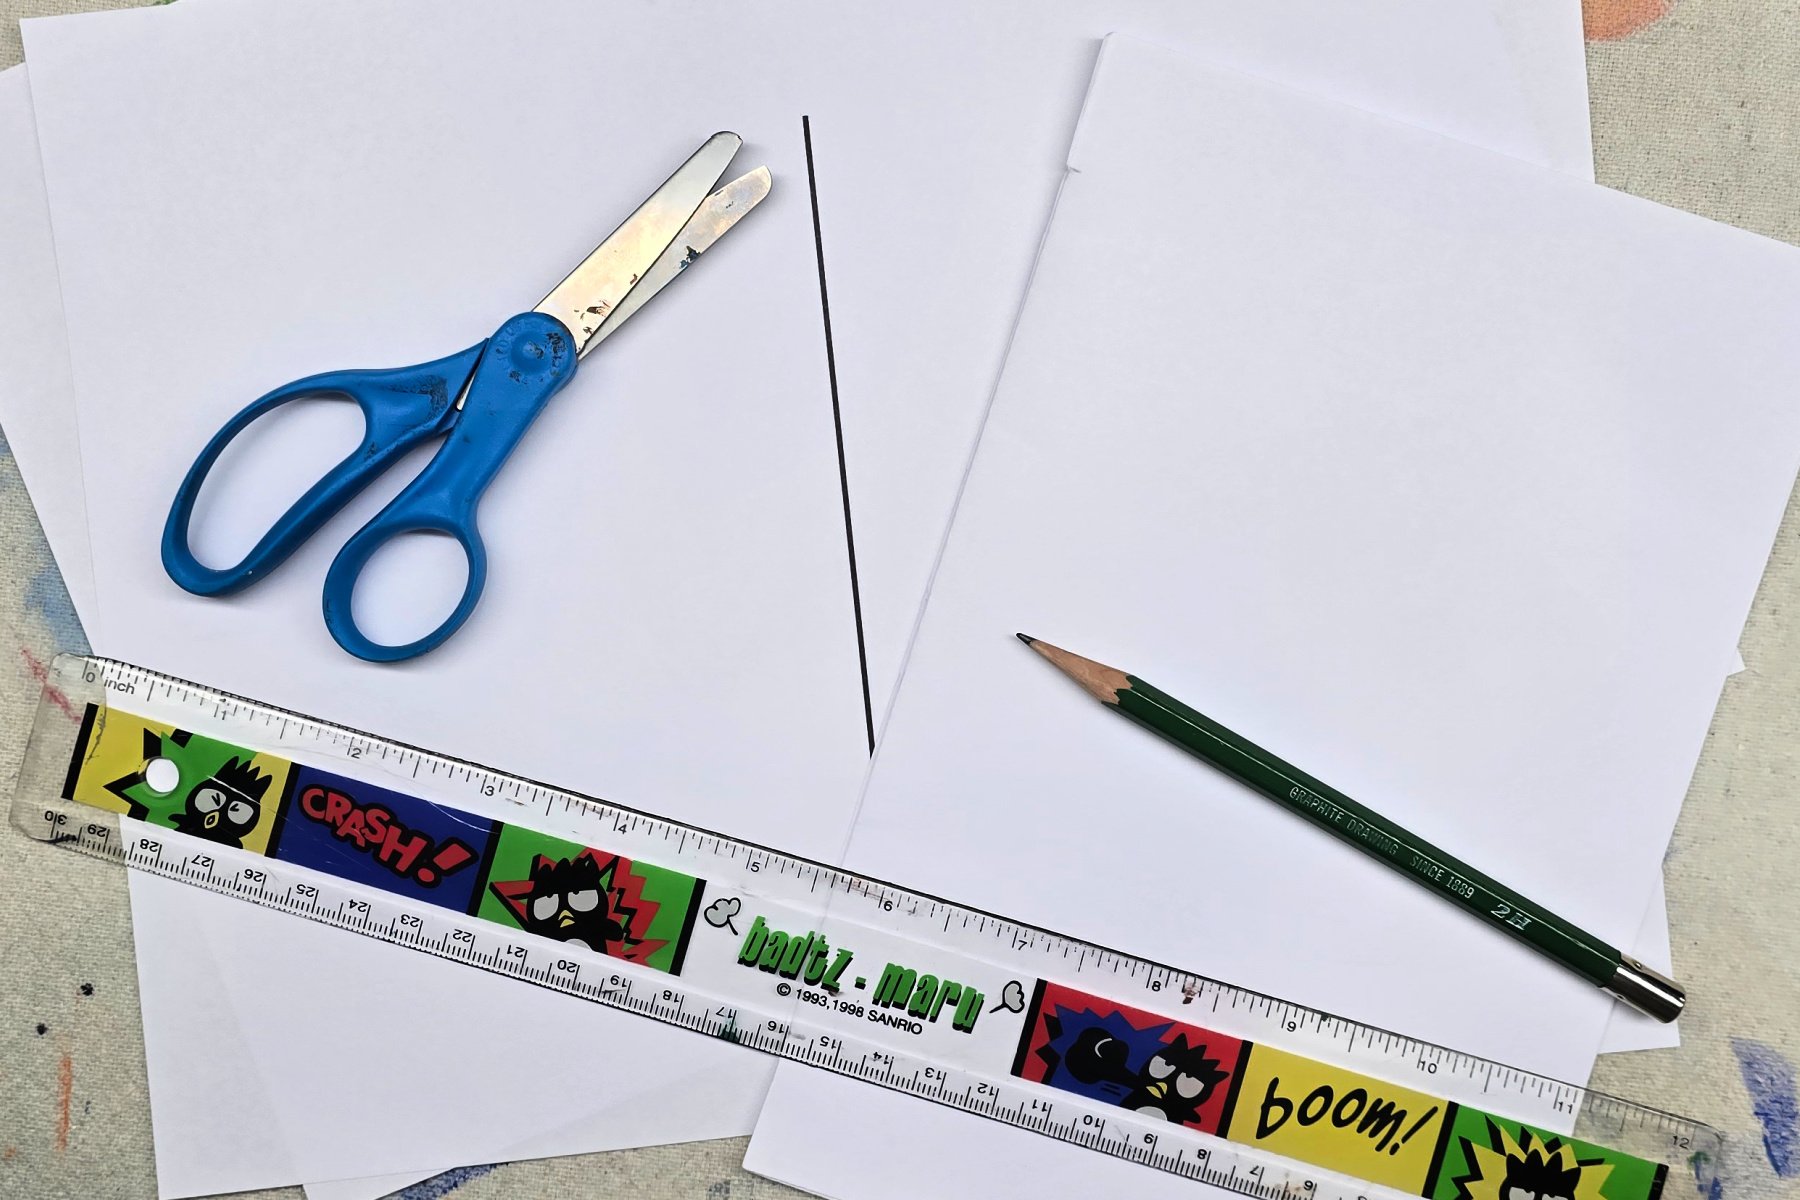
Supplies Needed to Make A DIY Sketchbook Art Project
- Multiple Sheets of Paper – Optional Download Below
- Scissors
- Pencil
- Ruler
Download the DIY Sketchbook Printable Here
This printable is perfect for kids that aren’t quite ready to use a ruler. Simply fold pages in half and cut on solid lines to fit the sketchbook together.
Directions to Make A DIY Sketchbook
Step 1
Holding a few sheets of paper horizontally, fold in half. Crease and unfold.
Step 2
Next, use a ruler and pencil to mark 2 dots on the inside crease one inch from edge of page.
Step 3
Then, use scissors to cut from outside edge to 1 inch marks. Set pages aside.
Step 4
With another set of pages, repeat steps 1 & 2. Hold horizontally, fold in half. Crease. Use a ruler and pencil to mark 2 dots on the outside crease, measuring one inch from edge of page.
Step 5
Then, use scissors to cut a thin slit between each mark. Unfold.
Step 6
Take the first set of pages and fold, without creasing, from top to bottom. Slide folded pages into slit created in the second set of papers.
Step 7
Allow folded papers to unroll. Cuts should align were pages fit easily into one another.
Step 8
Finally, refold pages along the crease to create your sketchbook!
Finished DIY Sketchbook Art Project
I love how customizable these DIY sketchbooks are, and they’re easy to make! Kids can now use their sketchbooks to create art anywhere.
Our Experience Making this DIY Sketchbook Art Project
This is such a fun and easy way for kids to create their own books. I love how versatile this book project is. Kids can easily add or remove pages, use multiple types of paper, or create their own art and stories within the pages!
Prep Time
5 minutes
Active Time
15 minutes
Total Time
20 minutes
Difficulty
Medium
Estimated Cost
$1
Materials
- Multiple Sheets of Paper (Optional Download)
Instructions
- Holding a few sheets of paper horizontally, fold in half. Crease and unfold.
- Use a ruler and pencil to mark 2 dots on the inside crease one inch from edge of page.
- Use scissors to cut from outside edge to 1 inch marks. Set pages aside.
- With another set of pages, repeat steps 1 & 2. Hold horizontally, fold in half. Crease. Use a ruler and pencil to mark 2 dots on the outside crease, measuring one inch from edge of page.
- Use scissors to cut a thin slit between each mark. Unfold.
- Take the first set of pages and fold, without creasing, from top to bottom. Slide folded pages into slit created in the second set of papers.
- Allow folded papers to unroll. Cuts should align were pages fit easily into one another.
- Refold pages along the crease to create your sketchbook!
Notes
DIY Sketchbook Art Variations
- Use multiple types of paper for a variety of surfaces to work on.
- Use a heavier bodied paper for a sturdier book. Note: A thicker paper does make it a bit more difficult to fold and cut multiple pages at once.
- Explore various sized paper to create sketchbooks in multiple sizes.
DIY Sketchbook Art Variations
- Use multiple types of paper for a variety of surfaces to work on.
- Use a heavier bodied paper for a sturdier book. Note: Using a thicker paper does make it a bit more difficult to fold and cut multiple pages at once.
- Explore various sized paper to create sketchbooks in multiple sizes.
Fill your SKetchbook with these fun Art Projects from Kids Activities Blog
Did your kids have fun making their own sketchbooks? What was the first thing they drew in their new book?