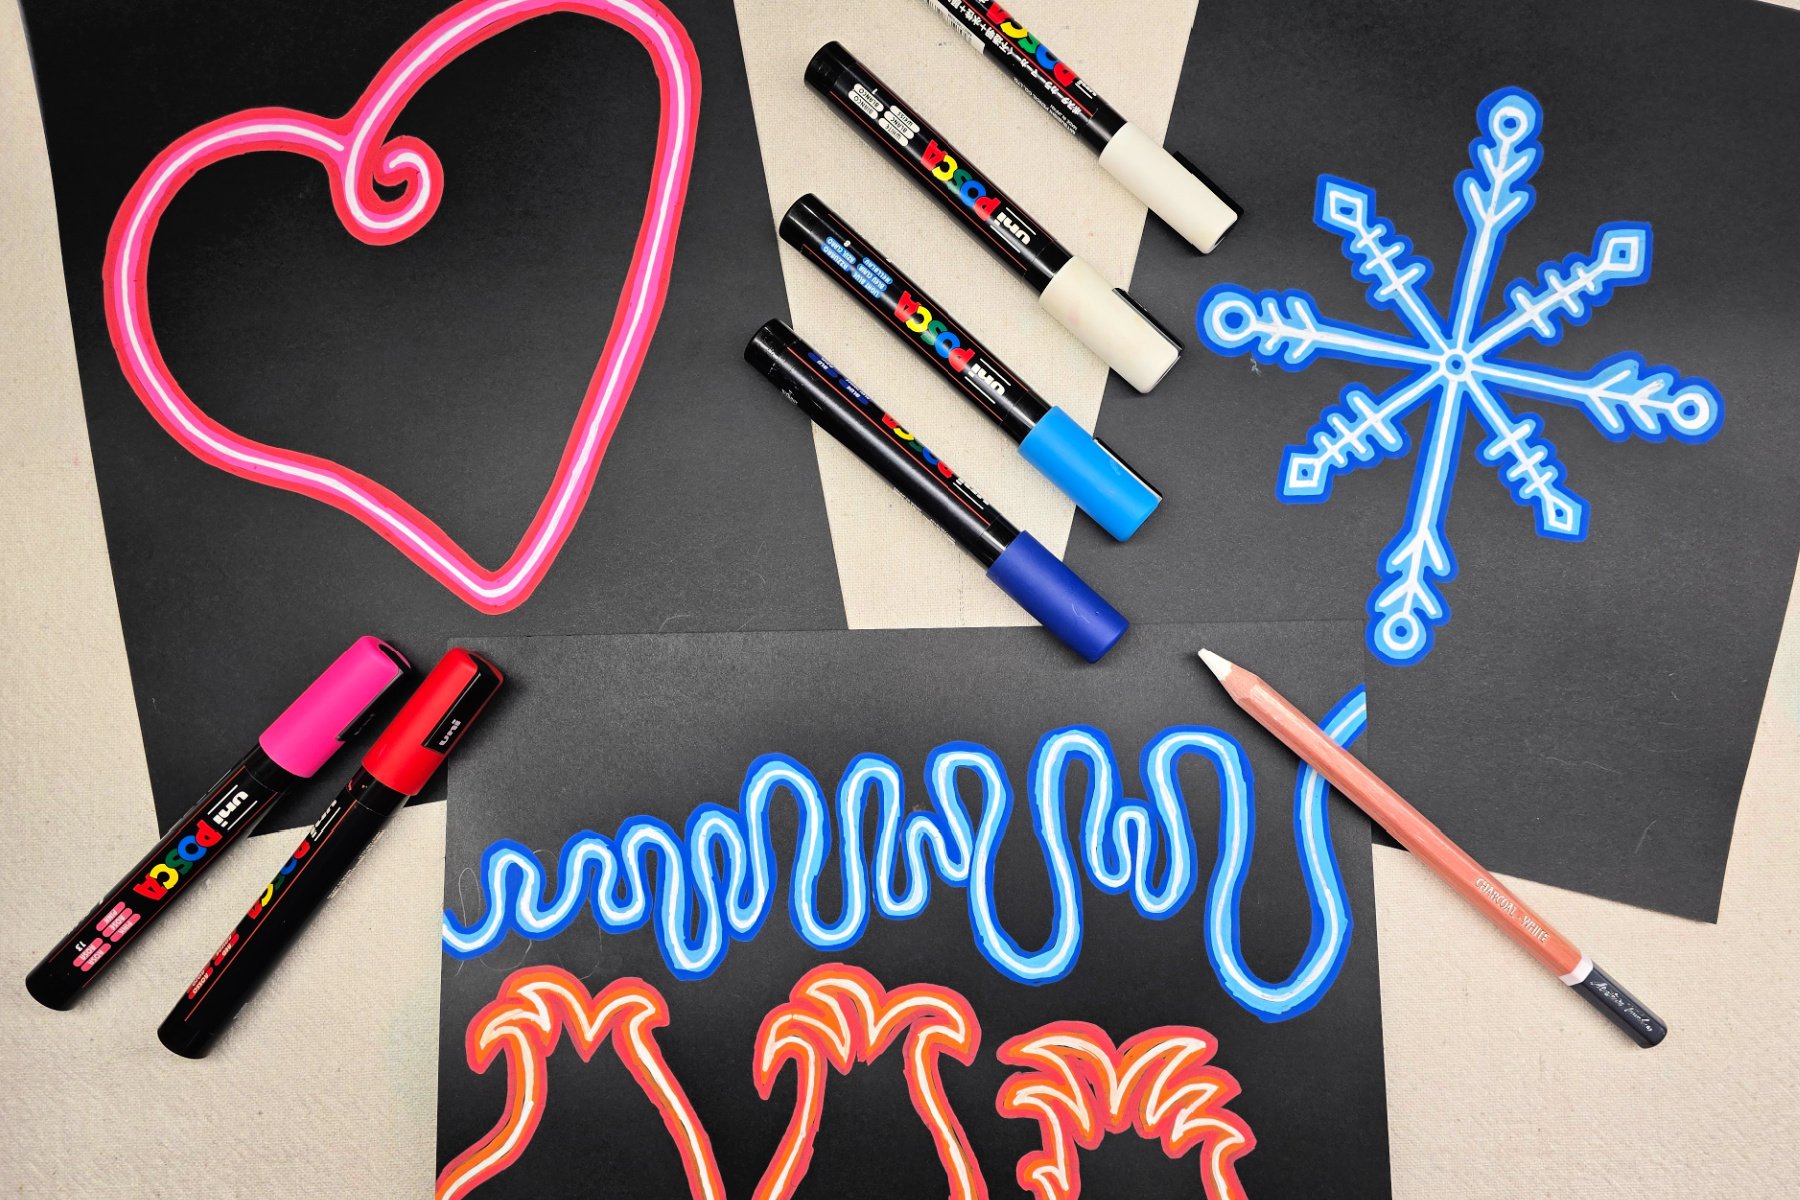
School-aged kids will learn how to paint neon art in this fun project. Our simple techniques can easily be used at home or in the classroom.
Neon Signs
Neon signs are electric signs lighted by long luminous gas-discharge tubes that contain rarefied neon or other gases.
Wikipedia
In this project, kids will learn to create paintings of neon signs using only 3 colors. Kids will first use white to create the illusion of light emitting from the gas tubes. They will then surround the white tubes with different tints of the same color. Doing this on a black background further creates the appearance of a neon glowing sign.
Related Link – Review tint with this fun posterization project.
Supplies Needed to Paint This Neon Art Project
- Black Cardstock
- Acrylic Paint Pens – White, and 2 Colors of Similar Tint. Example: light blue and dark blue, pink and red, etc.
- White Charcoal or Colored Pencil
Directions to Painting Neon Art
Step 1
Begin by using white charcoal or white colored pencil to sketch design onto black cardstock.
Step 2
Next, kids use the white paint pen to trace over their sketch. It’s important to not overwork the paint or the pen can tear the surface of the paper. Once dry, kids can layer paints if a second coat is needed.
Step 3
Then, kids use their lightest colored paint pen to outline both sides of the white lines they just drew.
Step 4
After that, kids will use the darker color to draw another outline of their design.
Step 5
Finally, trace over the white line. This will help brighten the line and further create the neon illusion. Touch up other colors as needed.
Finished Painting Neon Art Project
I love how bright these colors appear against the black cardstock! Since these projects are made on paper, they can easily be framed, clipped, or displayed in your preferred style.
Our Experience Making this painting neon Art Project
This was such a fun project that only involved a few simple steps. I love drawing with bold bright lines on black cardstock. The color difference really causes these signs to appear to look like they are glowing. Design possibilities are endless with this project, allowing kids to freely express their individual creativity.
Prep Time
5 minutes
Active Time
20 minutes
Total Time
25 minutes
Difficulty
Medium
Estimated Cost
$1
Tools
- Acrylic Paint Pens – White, and 2 Colors of Similar Tint. Example: light blue and dark blue, pink and red, etc.
- White Charcoal or Colored Pencil
Instructions
- Use white charcoal or white colored pencil to sketch design onto black cardstock.
- Use the white paint pen to trace over sketch. It’s important to not overwork the paint or the pen can tear the surface of the paper. If needed, allow paint to dry before adding a second layer.
- Use the lightest colored paint pen to outline both sides of the white lines drawn in the previous step.
- Draw another outline of the design using the darker colored paint pen.
- Trace over the white line. This will help brighten the line and further create the neon illusion. Touch up other colors as needed.
Notes
Painting Neon Art Variations
- Use traditional acrylic paints and paintbrushes to complete the project while practicing brush control.
- Completely paint a canvas or another surface black to use in place of cardstock. Ensure the black background is completely dry before beginning neon painting.
- Explore this glow effect though other mediums such as oil and chalk pastels.
Other Fun Glow Projects from Kids Activities Blog
Did your kids enjoy creating neon art? What designs did they choose to paint?

