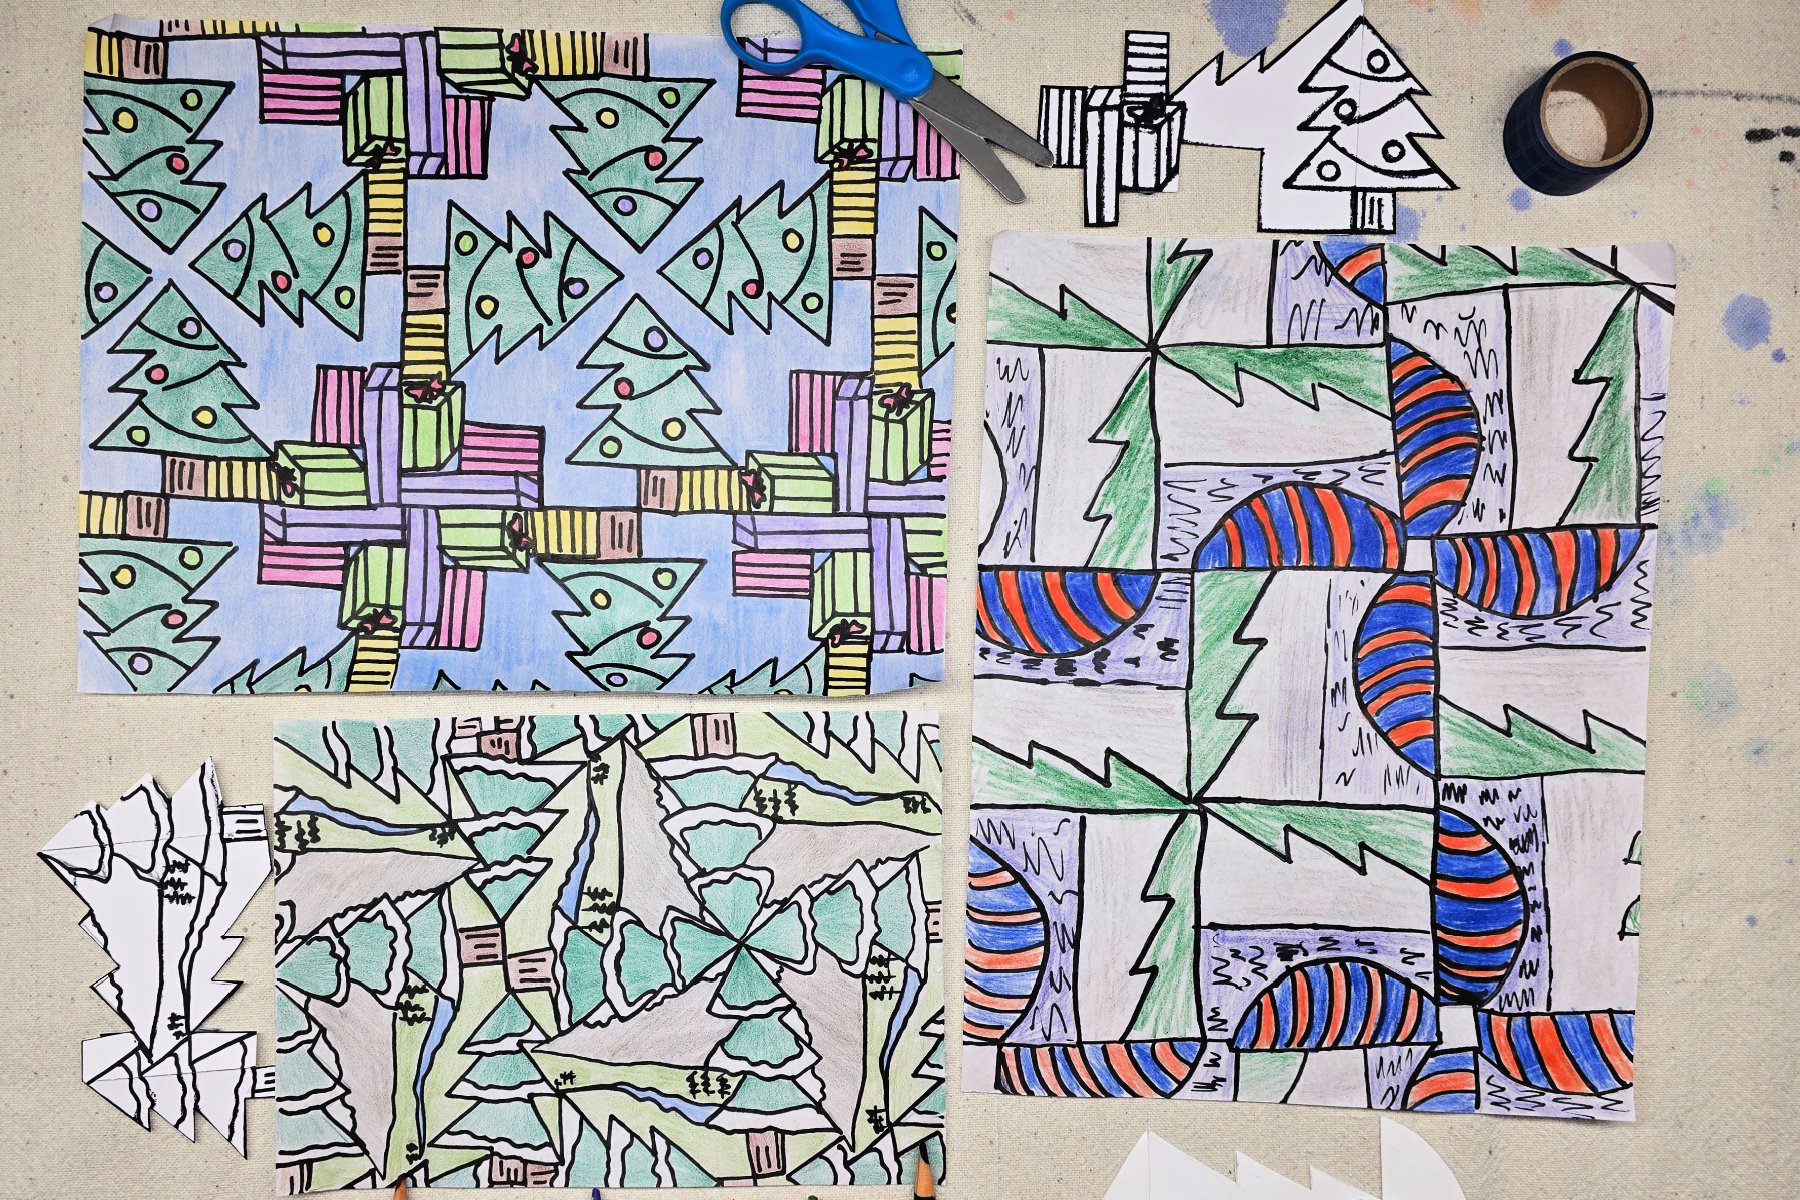
School-aged kids will learn to create Christmas themed rotating tessellations in this project. This mess-free lesson is perfect for home or classroom use.
What is a Tessellation?
A tessellation is when a geometric shape (or tile) repeats itself over and over again, covering a 2D or 3D surface without any gaps or overlaps.
My Modern Met
We will be creating a rotational form of tessellations within this project. The pattern will not only repeat, but will do so in a rotational manner around a central point.
Related: Learn about a more basic form of tessellation here.
Supplies Needed to Make This Christmas Tessellation Art Project
- Cardstock – cut into squares (we used 3 inch squares)
- Tracing Paper
- Scissors
- Tape
- Pencil
- Colored Pencil
- Permanent Marker
Directions to Make a Christmas Tessellation
Step 1
Begin by cutting the right side of the square into a unique shape. Swing the cut piece up to the top of the square. Tape into place.
Step 2
Next, cut the left side of the square into a unique shape. Swing the cut piece up to the bottom of the tessellation. Tape into place.
Step 3
Now, look at the tessellation blank and determine design details. Sketch design using a pencil and then finalize sketch using a permanent marker.
Step 4
Next, place tessellation tile under tracing paper. Use pencil or permanent marker to trace design onto paper.
Step 5
Then, rotate tessellation to align edges with the tessellation you drew in the previous step. Trace. Continue to rotate, move, and trace the tessellation tile around the paper until the entire page is covered with your design.
Step 6
If desired, trace sketch using a permanent marker and erased unwanted pencil lines.
Step 7
Finally, color and add any finishing details.
Finished Christmas Tessellation Art Project
I love how these Christmas themed rotational tessellations turned out! Since these projects are made on paper, they can easily be framed, clipped, or displayed in your preferred style with your seasonal decorations.
Our Experience Making this Christmas Tessellations Art Project
Tessellations are some of my favorite things to draw. I love how easy it is to create repeating patterns and the endless possibilities they supply. Everyone starts out with the same basic square tile, but everyone creates vastly different completed works of art.
Prep Time
5 minutes
Active Time
30 minutes
Total Time
35 minutes
Difficulty
Medium
Estimated Cost
$1
Materials
- Cardstock – cut into squares (we used 3 inch squares)
- Tracing Paper
Tools
- Scissors
- Tape
- Pencil
- Colored Pencil
- Permanent Marker
Instructions
- Cut the right side of the square into a unique shape. Swing the cut piece up to the top of the square. Tape into place.
- Cut the left side of the square into a unique shape. Swing the cut piece up to the bottom of the tessellation. Tape into place.
- Look at the tessellation blank and determine design details. Sketch design using a pencil and then finalize sketch using a permanent marker.
- Place tessellation tile under tracing paper. Use pencil or permanent marker to trace design onto paper.
- Rotate tessellation to align edges with the tessellation you drew in the previous step. Trace. Continue to rotate, move, and trace the tessellation tile around the paper until the entire page is covered with your design.
- Trace sketch using a permanent marker and erased unwanted pencil lines.
- Color and add any finishing details.
Notes
Christmas Tessellations Art Variations
- Use transfer paper to transfer tile image onto another type of paper.
- Adjust size of tessellation tiles to allow different pattern sizes. I generally have younger kids create larger, less detailed, tiles.
- Use a light box or sunny window to trace tile design onto copy paper.
- Adjust theme to fit any season or holiday.
Other Fun Christmas Art Projects from Kids Activities Blog
Did your kids love making tessellations? What design did they create on their tile?

