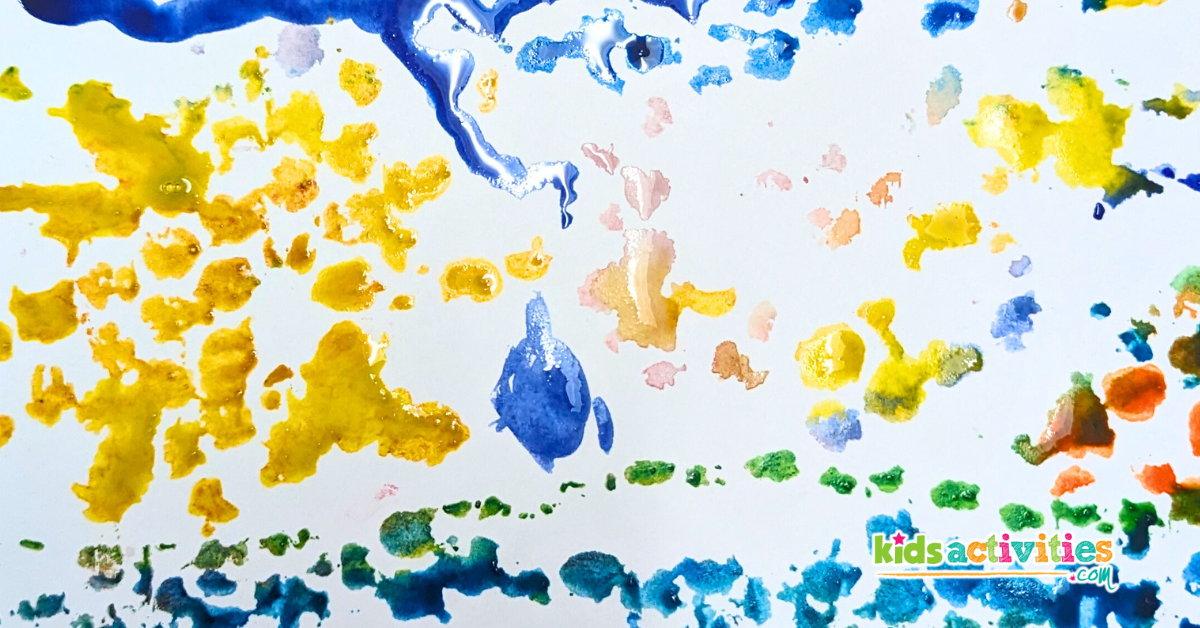
Make colorful watercolor paintings with bubble wrap! This bubble wrap watercolor painting art project is perfect for kids between the age of 4 and 8, it is really cheap and easy to make and it can be used in a classroom or home setting. It is also really easy to clean up after this art project! Painting with bubble wrap is a great activity to encourage creativity with an easy art project.
Lets make this awsome Bubble wrap watercolor painting art project!
Bubble wrap painting is the perfect project for little hands and creative minds. The art style sort of reminds me of old comic books or abstract art! It looks so interesting and unique and helps teach kids to trust the process when making their art work and not to worry about the little details so they can focus on being creative and having fun!
Related: Try this Q-tip painting art project for another cool painting texture and fun art history lesson about post-impressionism art!
There are a few ways you can modify this art project for your needs. Depending on what bubble wrap you have on hand, you can adjust the size of the art project. You can also reuse the bubble wrap by washing off extra paint with water to add layers to the painting or to make multiple different paintings! Kids love the flexibility of creating whatever they want with this art and being creative with a uniq
This article includes affiliated links.
Supplies you will need for this art project
How to make this bubble wrap painting art
- Paint on the bubble wrap with the watercolors. Make sure to paint on the bumpy side of the bubble wrap. It will look a bit splotchy and hard to see at first but trust the process!
- Flip over the bubble wrap while it is still wet and press it onto white paper.
- Lift the bubble wrap off of the paper and let the paper dry.
- You can reuse the bubble wrap by rinsing it under water and drying it off with a paper towel to make more bubble wrap paintings!
how our bubble Wrap painting art looks!
This watercolor project has to be my favorite! All of the kids loved how their art turned out and it was all unique. The clean up took almost no time since the watercolors would come off the table with just a wet cloth. We reused all the bubble wrap over and over with this project and it was surprisingly easy to clean the bubble wrap, we just had to rinse it in some water and pat it dry. It was so fun and easy to make this art and it kept them busy all day long!
Active Time
30 minutes
Total Time
30 minutes
Difficulty
easy
Estimated Cost
$1
Materials
- – Paper towels
- – Bubble wrap
- – Paper
Tools
- – Water colors
- – Paintbrushes
Instructions
- Paint the bubble wrap with watercolors. Make sure to paint the bumpy side of the bubble wrap.
- Flip over the bubble wrap onto paper. Press the bubble wrap gently on the paper making sure not to pop any bubbles.
- Lift the bubble wrap, you will now have a super cool watercolor painting!
- Wash the bubble wrap with water for reuse! (Optional)
More painting from Kids Activities Blog
What did you paint use bubble wrap? Let us know in the comments below!

